Control the movement before naming the letter.
Exercises isolate pressure, release timing, curves and hairlines.

Pressure gate
Repeat one descending curve and release pressure at three points. Compare width and exit quality.
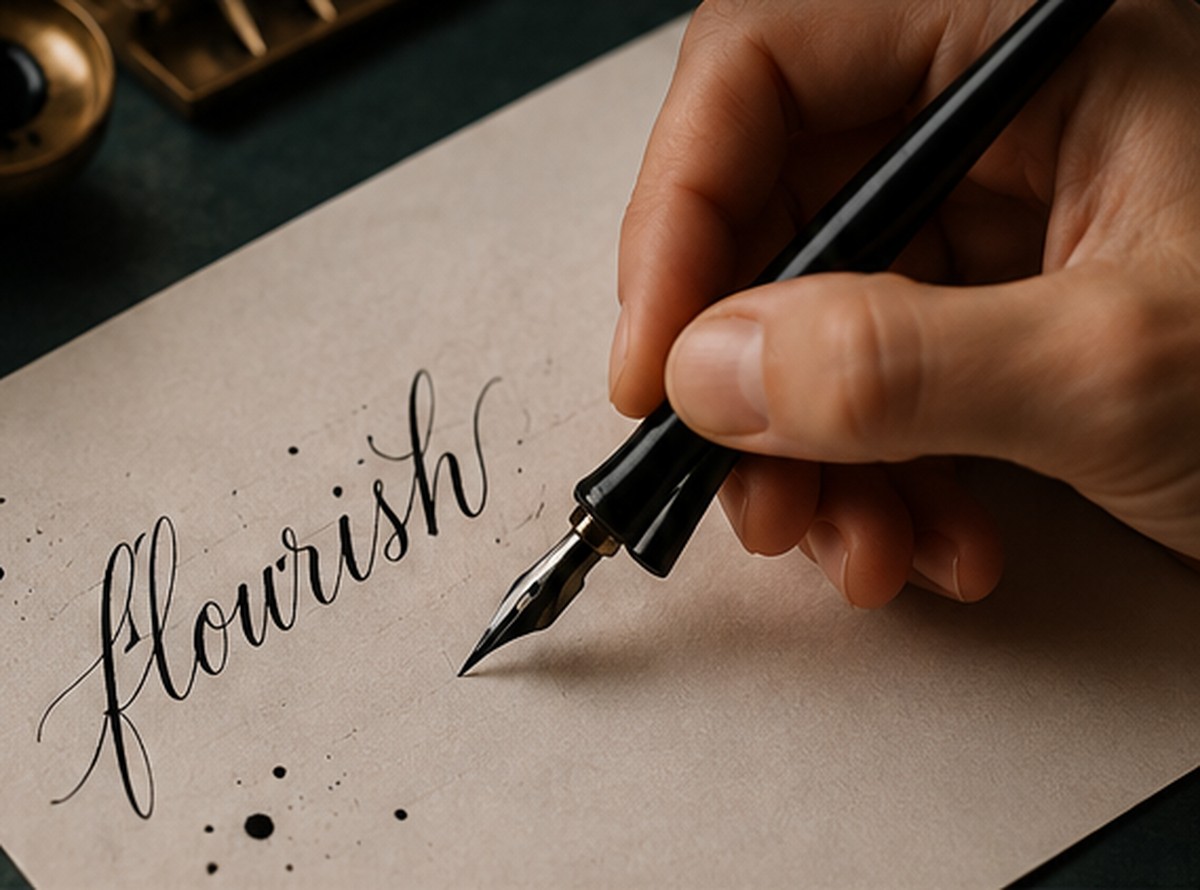
Turn without a blob
Reduce pressure before direction changes and mark where pooling appears.
Four checks before rewriting the stroke.
These checks help separate movement problems from material problems.
1. Entry
Check whether the nib arrives at the intended angle before pressure is added.
2. Load
Observe how quickly pressure increases and whether both sides of the stroke remain controlled.
3. Turn
Watch for ink pooling or sudden width changes where direction changes.
4. Release
Compare where pressure begins to disappear and whether the exit becomes a clean hairline.
Common exercise: three release points
Draw the same curved downstroke three times. In the first, release pressure early; in the second, release near the midpoint of the turn; in the third, hold pressure slightly longer. Label the examples and compare the shape of the lower curve.
What to record
Keep notes short: nib angle, paper type, approximate writing speed and the single correction you tested. This prevents a practice notebook from becoming a collection of unexplained pages.